
Starting a blog can be daunting. There are so many different things to consider, from determining your niche to picking the best hosting platform.
Growing it? That’s even more challenging and time-consuming. Luckily, Jasper simplifies the process by allowing you to quickly generate blog post titles, outlines, high-quality content, and much more.
Let’s take a look at how to write blog posts with Jasper Boss Mode from start to finish.
Contents
- STEP 1: Choose your document type
- STEP 2: Describe the content you want to create
- STEP 3: Generate a title
- STEP 4: Generate an introduction
- STEP 5: Generate a blog post outline
- STEP 6: Format your headings
- STEP 7: Write the blog post with Jasper
- STEP 8: Generate a conclusion
- STEP 9: Make it SEO-friendly
- STEP 10: Check plagiarism
Disclosure: You should always assume that pretty much every link on this site is an affiliate link, and if you click it and buy something you like, I’ll earn some money to help me buy a DeLorean, build a time machine, and travel back to the 90s so I can watch Hey Arnold! and eat Dunkaroos again.
Take Jasper for a Spin!
Let your AI assistant help you write blog articles, emails, social media posts, high-converting ads, and more.
Understanding Jasper
Before you begin writing blog posts with Jasper, you must understand how your assistant thinks and what it sees.
This way, you’ll know why it might write certain things and be able to steer it in the right direction.
How Jasper Thinks
- Jasper is a robot – while Jasper is awesome at generating human-quality content, it isn’t perfect, so it might sometimes write weird stuff.
- Trained on a model up to October 2019 – this is why you’ll see a lot of 2018-2019 references. If your blog post requires more up-to-date info, you’ll have to feed Jasper more info to talk about.
- Predicts the next best word to write – in a sentence, Jasper is deciding what’s going to write one word at a time, not taking huge chunks of other people’s pages. So no need to worry about plagiarized content.
- Great at writing creatively – Jasper focuses more on writing creatively and writing well, not necessarily including facts. It will get a lot of facts right, but you still have to check.
- Change the tone – you can use adverbs/adjectives like urgently, officially, honestly, and quickly to give your blog post a different tone.
What Jasper Sees
- How Jasper writes – Jasper takes the title, content brief, keyword, and the most recent characters that you’ve written in the document to determine what’s the next best thing to write.
- Boss Mode – in Boss Mode, Jasper will read 3,000 characters above where your cursor is in the document. If you’re not using Boss Mode, it will only read the last 600. Letting Jasper have more vision increases its context to write higher quality and more relevant content.
I think we’re now ready to learn how to write blog posts with Jasper.
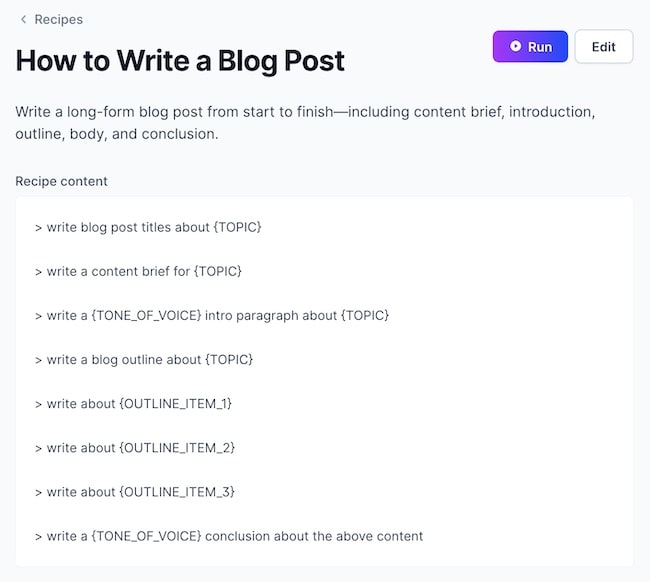
Write a Blog Post Recipe
Jasper recipes are pre-built workflows that contain a series of Jasper commands to help you create content using a repeatable process.
You can save and/or run my recipe to write blog posts here.
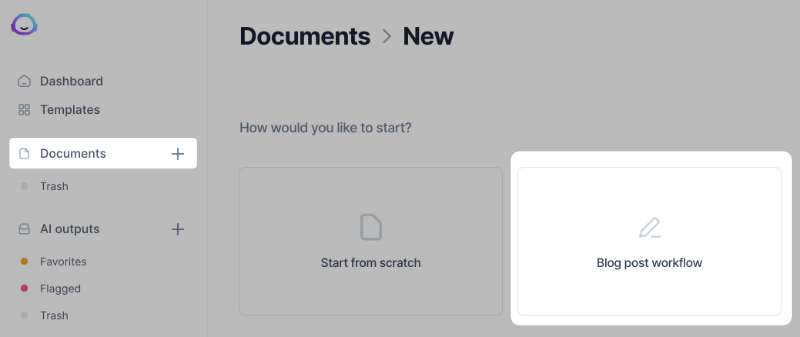
STEP #1: Choose Your Document Type
To create a new document, click on Document > + > Blog post workflow.
Using “Blog post workflow” will allow Jasper to guide you through your document setup process.
STEP #2: Describe the Content You Want to Create
One of the most important steps in learning how to write blog posts with Jasper is setting up your document correctly.
Here, you want to be as descriptive as possible so that Jasper can understand what you want to write about. The better your description, the better the output you’ll get from Jasper.
Next, add your main keyword—you can add one or two more relevant ones if you’d like.
In this Jasper tutorial, we’ll be writing a blog post about dog training as an example.
Here’s what I’ll add as a description:
I want to write about how to teach your dog different tricks and commands.
And here’s what we’ll use as our keyword:
dog training
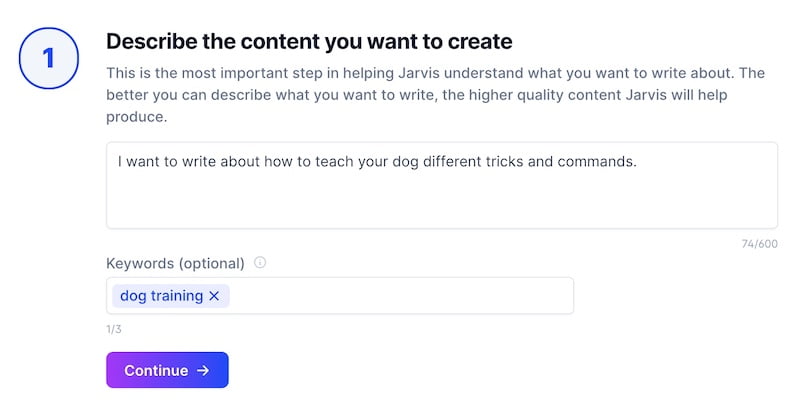
After you’re done adding this info, just click “Continue.”
STEP #3: Generate a Title
Next, you can choose to write your own title or have Jasper generate title ideas for your blog post.
To generate ideas, you don’t need to write anything, simply click on “Generate ideas” and let Jasper do its thing.

I’ll be choosing this one:
How to Train Your Dog: Training Tips for Different Tricks and Commands
STEP #4: Generate an Intro Paragraph
If you have an idea or a specific direction you want Jasper to take, you can add your own introduction. If not, you can let it generate ideas for you.
We will click “Generate ideas” and see what it comes up with.
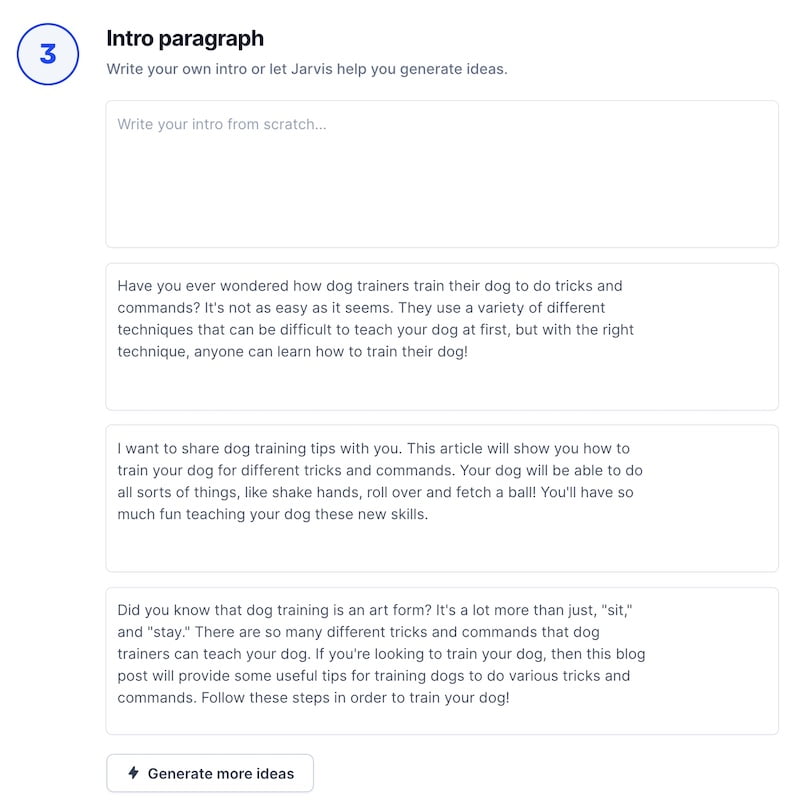
I think the last one would look pretty cool after a few small edits, so I’m going to choose that one and make some changes once we’re inside the editor.
Here’s what the original output looks like:
Did you know that dog training is an art form? It’s a lot more than just, “sit,” and “stay.” There are so many different tricks and commands that dog trainers can teach your dog. If you’re looking to train your dog, then this blog post will provide some useful tips for training dogs to do various tricks and commands. Follow these steps in order to train your dog.”
Here’s how it looks after my edits:
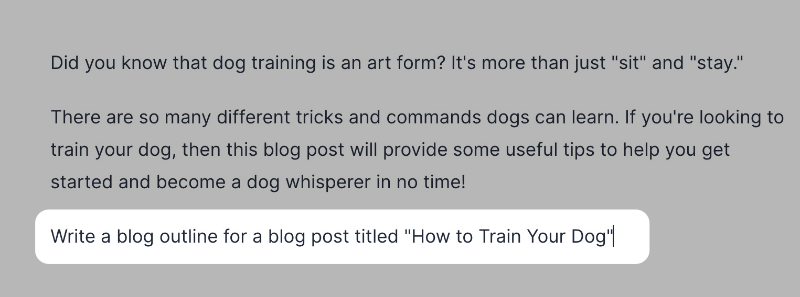
Did you know that dog training is an art form? It’s more than just “sit” and “stay.”
There are so many different tricks and commands dogs can learn. If you’re looking to train your dog, then this blog post will provide some useful tips to help you get started and become a dog whisperer in no time!
STEP #5: Generate a Blog Post Outline
Now that we’re inside the editor, the next step would be to have Jasper generate an outline for our blog post.
For this, we will be using Jasper Commands.
When learning how to write blog posts with Jasper, Boss Mode Command will be your best friend. Basically, you can tell Jasper to do anything you want as if you were talking to a friend.
Here are some Jasper Boss Mode Command ideas:
- Write a blog post about how to build muscle
- Write a follow-up email about a guest post opportunity
- Write a YouTube video script about this…
- Write a marketing email promoting Jasper Boss Mode
- Write a get well soon card
- Make a list of the best keto-friendly foods
- Answer the question “What’s Conor McGregor’s MMA record?”
- Write a conclusion about the above content
One thing to remember about Commands is that they do not read the title, content brief, or anything above the cursor.
Here’s the Command we’ll be using:
Write a blog outline for a blog post titled “How to Train Your Dog”
To use Jasper Commands, simply place the cursor at the end of the line and press:
- macOS: CMD + ENTER
- Windows: CTRL + ENTER
You can check out some Boss Mode Command ideas, shortcodes, and shortcuts in my Jasper cheat sheet.
If you don’t like the output, you can have Jasper re-run the last Command to try for better content by pressing:
- macOS: CMD + /
- Windows: CTRL + /
Keep in mind that this will delete the last output and create a new one. Here’s the output I got from Jasper:
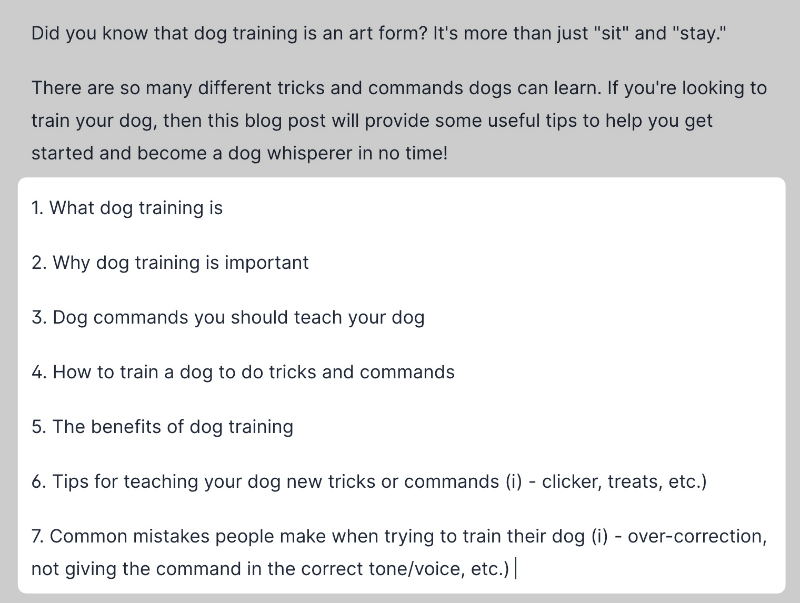
I think this output is pretty good, I’m just going to delete and rephrase a couple of points.
STEP #6: Format Your Headings
Now that we have our outline, we want to set up our headings (H2, H3, H4). This is important because it will allow Jasper to better understand the flow of the article and what you’re trying to accomplish.
For example, if you have an H2 followed by a paragraph, followed by another H2, and then another paragraph, Jasper will keep creating H2s followed by paragraphs.
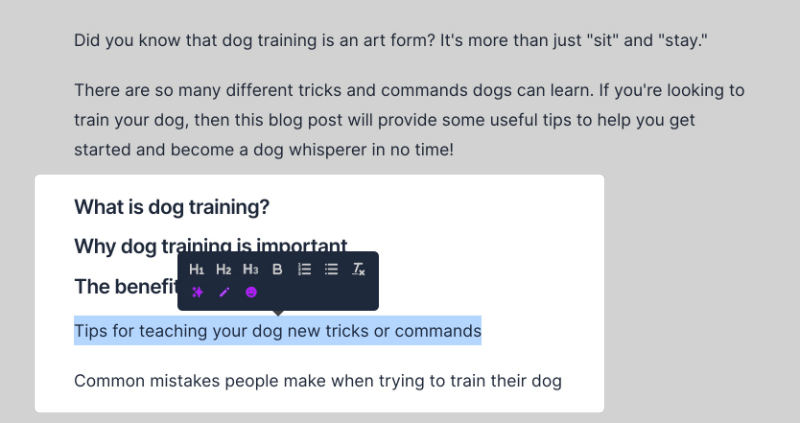
To view the formatting options, highlight the text and a little menu should open up giving you the option to choose headers, bullets, rephrase, fix grammar, and more.
STEP #7: Write the Blog Post With Jasper
Now we can get Jasper to begin writing the body of the blog post. For this, we’ll mainly use Compose to have Jasper write the next sentence.
Unlike Commands, with Compose Jasper does see the content above the cursor and everything in the sidebar (title and content brief).
So you’ll want to change the content brief as you write the blog post so that Jasper gets a better idea of what you’re trying to write in a particular section.
For example, our content brief currently says:
I want to write about how to teach your dog different tricks and commands.
But the first heading in the blog post is about defining what dog training is. So it might be better to change the brief to something like:
I want to write about what dog training is.
After changing the brief, place your cursor underneath the first heading and hit:
- macOS: CMD + J
- Windows: CTRL + J
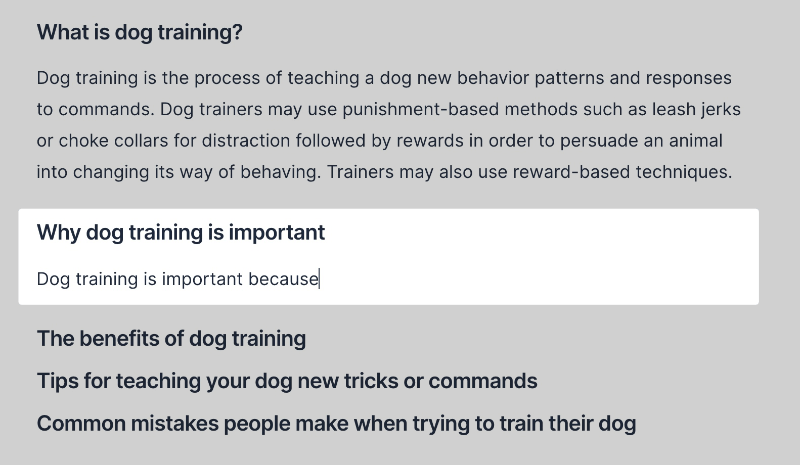
Here’s the output I got:

I’m going to polish that a little bit.
If you didn’t get a good output, you can try writing a little bit of text to give Jasper some guidance. Let’s do this with our next heading: “Why dog training is important.”
I’m going to write:
Dog training is important because
And hit Compose to let Jasper finish writing my thought.
Here’s what Jasper wrote:
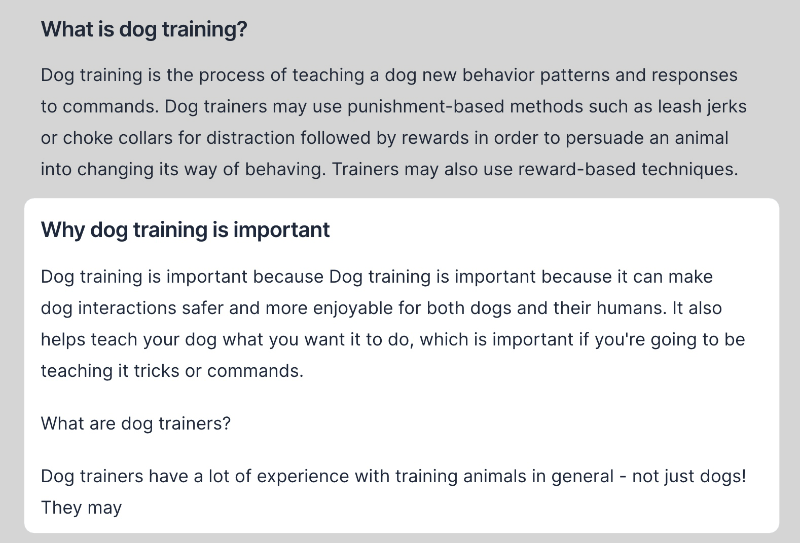
Notice that it added what seems like a potential heading that says: “What are dog trainers?”
That’s because it saw that the flow of the blog post is Heading > Paragraph > Heading > Paragraph, so it’s trying to keep that same structure by creating another heading.
To prevent this from happening, you could add this shortcode: ***. This will prevent Jasper from seeing above that point, which is also useful to prevent it from repeating itself.
Let’s try it again with the *** in place.
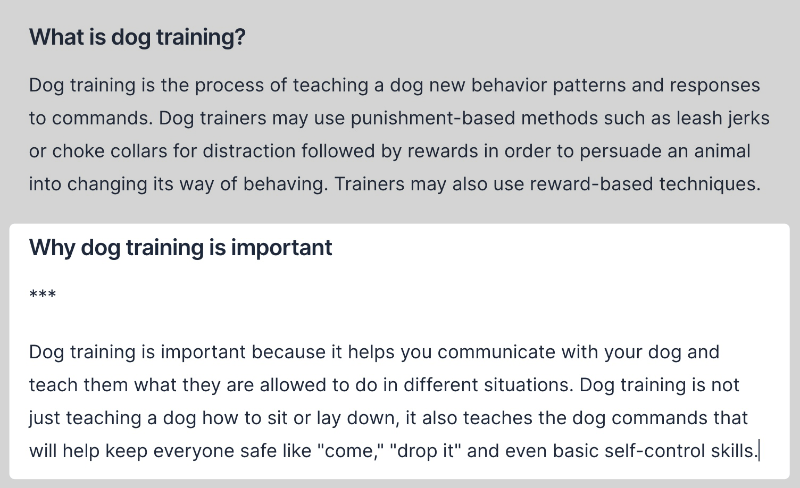
See?
Now it just wrote a paragraph. If you wanted to write more content, you could keep hitting Compose or change the Output length to “L.”
However, sometimes when the output is too long Jasper can write some weird stuff, so it’s best to keep it at “M.”
For our next heading, let’s use the Jasper Command to have it write the paragraph. Remember, when using Commands, Jasper won’t read your content brief, so no need to change it.
Here’s the Command we’ll use:
Write about the benefits of dog training
Here’s what Jasper wrote:

Notice that the last paragraph cut off. When this happens, you can simply hit Compose to have Jasper keep writing.

See?
Jasper finished writing the paragraph.
Since I deleted the *** from above, it created another Heading > Paragraph like earlier. I’ll just go ahead and delete that.
For this next heading, I want Jasper to create a list of tips to help you teach your dog new tricks—instead of a paragraph.
We’ll use the following Jasper Command:
Write tips for teaching your dog new tricks
Here’s what we got:
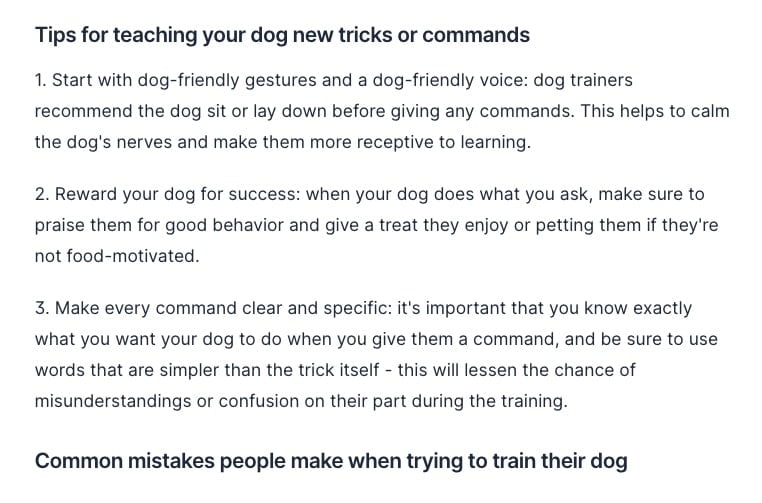
Now let’s write bullet points for the next heading. We can run the following Command:
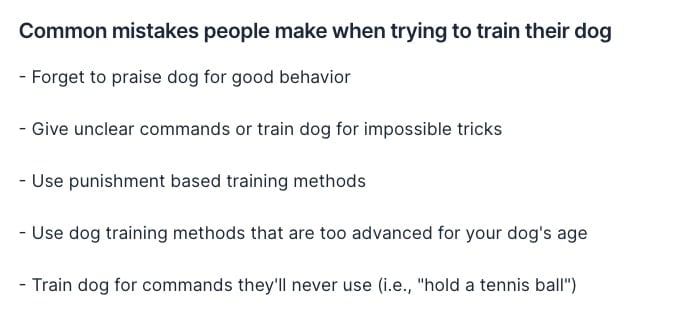
Make a list of common mistakes people make when training their dog
Here’s what Jasper wrote:
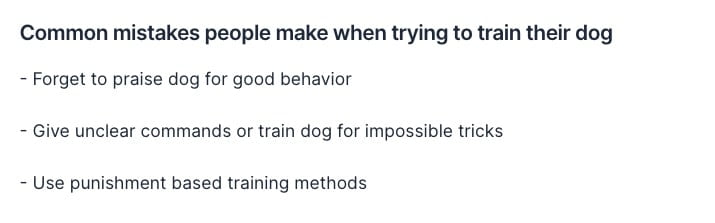
I want to add a bit more mistakes, so I’ll just place my cursor at the end and hit Compose.
STEP #8: Generate a Conclusion
The last step in this guide on how to write blog posts with Jasper is to generate a conclusion. For this, we’ll also use Jasper Commands. Here’s one you could use:
Write a conclusion about the above content
Here’s what Jasper wrote for a concluding statement:
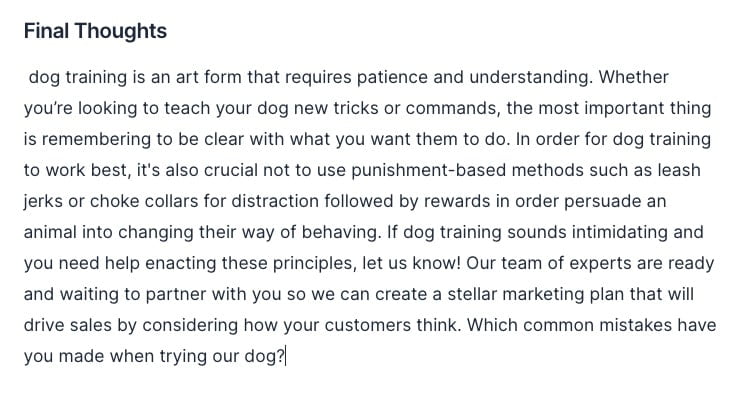
There are a few sentences that don’t really make sense—like the one about creating a marketing plan, what the heck?
Also, “trying our dog” doesn’t make any sense, so I’ll change that to “training your dog.”
Here’s how it looks after a bit of quick little edits:
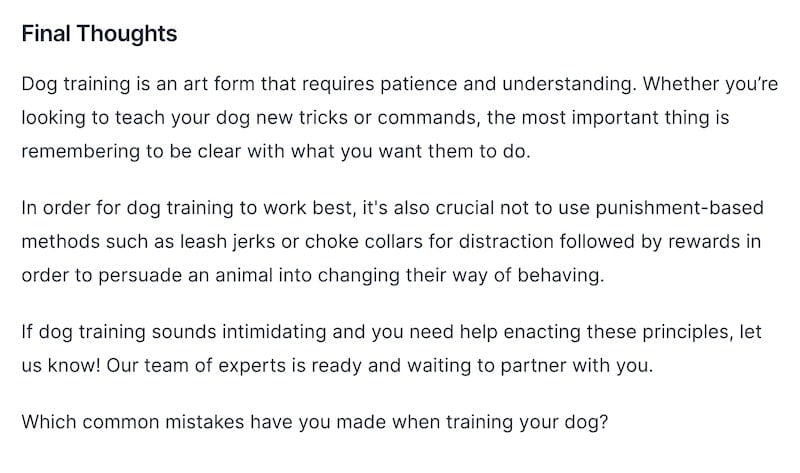
Ta-da!
I do love how human-like Jasper’ outputs can be. That engaging question at the end was a nice touch, even if it messed it up a bit.
Keep in mind that you might not get things right on the first try—and that’s okay.
It might be a bit frustrating at first, but just like learning how to ride a bike, all it takes is some practice.
Once you’ve mastered Jasper, you’ll be pumping out content crazy fast.
I’ve never had a dog before, so I’m not sure how accurate this info is, though. But I wanted to give you an unusual example so you can see that Jasper can write about anything.
STEP #9: Make It SEO-Friendly
As mentioned earlier, Jasper is only an assistant that will help speed up your content creation process, it won’t write a 10,000-word article with one click.
Make sure that you check your keyword density and optimize your blog post for search engines like Google.
If you need help doing so, Jasper has a partnership with Surfer SEO so you can easily integrate the two platforms.

With this integration, Surfer SEO will help you easily figure out which topics you should write about, how to structure your post, and which words are important for your audience and search engines.
STEP #10: Check Plagiarism
Even though Jasper writes original content, it’s always a good idea to run your blog post through Copyspace or another plagiarism checker to make sure that your piece is unique.
Troubleshooting Jasper Outputs
Jasper is definitely a useful AI writing tool, but there will be times when it’s not giving you the type of content you’re looking for.
Don’t get frustrated, though.
Let’s take a look at some issues you might run into when having Jasper help you write blog posts and what you can do about them.
1. Jasper Isn’t Doing a Good Job
Make sure that you change the settings—content brief and keywords—to specify what you want to write about.
2. Jasper Is Just Repeating the Above Content
To prevent duplicate content issues, try adding the shortcode *** to keep Jasper from reading what’s above.
3. Jasper Isn’t Doing Well With Up-to-Date Content
Jasper was trained on a model up until October 2019, which is why you’ll see a lot of references to events from 2018 and 2019.
If your content requires more up-to-date information, you’ll have to feed Jasper a bit more info to talk about.
4. My Content Is Getting Cut Off
If your content is getting cut off, it’s most likely because you’ve hit the max number of characters for that specific template or long-form piece.
To fix this, you could tweak your input to end with a period or shorten your input title a bit. Another option is to simply hit Compose to have Jasper keep writing where it left off.
Jasper AI FAQs
Let’s take a look at some of the most commonly asked questions about Jasper AI writing.
1. Does Jasper Write Blog Posts With a Single Click?
No, Jasper doesn’t generate blog posts with a single click, but it can definitely speed up the writing process. With a bit of guidance, Jasper can write creative and human-like content.
Think of Jasper as an assistant, kind of like Tony Stark’s J.A.R.V.I.S.
2. Does Jasper Copy Content From Other Web Pages?
No, all the content generated by Jasper is unique and passes plagiarism tests with 99.99% original content that’s free and clear for publication.
The way Jasper works is that it predicts the next best word to write.
So in a sentence, it’s deciding what’s going to write one word at a time, not taking huge chunks of other people’s pages. So there’s no need to worry about duplicate content issues.
3. Which Languages Does Jasper Speak?
Input languages include Bulgarian, Czech, Danish, German, Greek, English, Spanish, Estonian, Finnish, French, Hungarian, Italian, Japanese, Lithuanian, Latvian, Dutch, Polish, Portuguese, Romanian, Russian, Slovak, Slovenian, Swedish, and Chinese.
Output languages include the same as the input languages + English (British and American) and Portuguese (Brazilian and all other Portuguese varieties excluding Brazilian Portuguese).
4. Why Am I Getting a “Sensitive Content” Message?
Jasper AI comes with a content filter whose goal is to detect any generated text that could be “sensitive” or “unsafe.”
The filter is not so much about a specific word, but more about the intent of the writing. This means that the filter is going to flag content based on what the projected intent of this content could be.
The filter isn’t perfect and can make mistakes, but it’s designed to err on the side of caution.
To fix this, you should analyze your paragraph and try to see which word could be causing it to give an “unsafe” output.
Let’s take the following paragraph as an example:
There was a person riding a completely murdered out Toyota Supra late last night.
If a paragraph like this got flagged, it would most likely be due to the phrase “murdered out.”
The term “murdered out” often refers to a car that has been modified and the only color used throughout the entire vehicle is black.
If you believe there was a false positive, you could send an email to jasper@conversion.ai and wait for a response.
The reason they can’t remove the filter is because there are some use cases like adult topics and content that are not allowed in compliance with their AI partners.
Enjoy Writing Blog Posts With Jasper
Jasper is definitely a great software to use to easily write blog posts that are engaging and captivating.
Learning how to use Jasper can be a bit frustrating at first, but once you know how to use it, it’s going to seriously improve your SEO/content creation workflow.

I’m having issues integrating surfer with Jarvis. As of now, I’m only able to open each platform separately. How do I integrate both?